Node Editor - Some Examples
Click on the images for a full size screen shot
Vertex Color | Occlusion | Incidence | Normal | Outline Shader
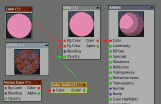
Vertex Color
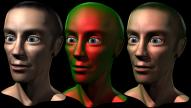
Vertex color maps can be used to apply different shaders to different parts of the object.
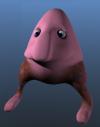
The Mode of the Color Scalar node is set to Red Channel. The vertex color map of the nosy guy (see image on the right) is black except for the pants, which are, you guessed it, colored red.
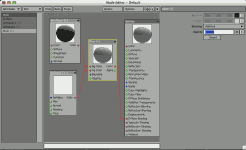
Occlusion
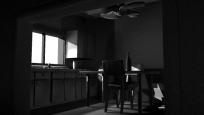 Here's an axample how you can use the occlusion node in a network. This one works for interior scenes and simply adds the occlusion lighting to the diffuse shading. In the kitchen scene I used it in stead on fill lighting.
For outdoor scene, where the occlusion shader wil result in mainly white with some gray areas, multiplying it with the diffuse shading will yield better results
Incidence
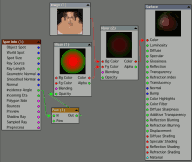
The Spot Node give you access to all kinds of parameters related to the spot that is being shaded when the shader gets called during the rendering process. Incidence is one of them: the angle between the camera / view ray (the ray being traced) and the surface normal. This means that this parameter changes depending on the angle at which the surface is viewed: straight on or at more of a grazing angle
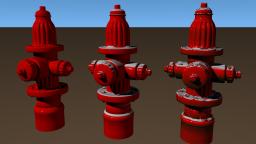
In this example I am using the incidence parameter to mix a dark green and red [Mixer (1): Bg Color = (dark) green, Fg Color = Red]
Like most shading parameters, The Incidence is normalized, that is: expressed in a number ranging from zero to one. The Power node works as a gamma correction [pow (1): 2]
The green / red mix color is mixed with the texture map [Image (1)] to get the final result [Mixer (2): Blending normal = 25%]
Let it Snow!
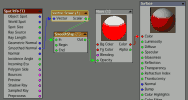
The Spot Node has many uses. Here is how you can put a dusting of snow on an object:
The Smoothed Normal output of the Spot node is converted to a scalar by picking the Y component [Tools → Vector Scalar (1): Mode = Y Channel]. The Math → SmoothStep node is used to pick where the white should start (at Y = 0.5 or where the normal points up 45 degrees) and be fully white (at 0.7 or 63 degrees) [SmoothStep (1): Begin = 0.5; End = 0.7]. This value is used to mix red and white, which is piped into the diffuse color.
And yes, it is easier to just go to the Shaders tab of the Surface Editor and Add Shader →LW_Snow, but where is the fun in that?
The model in the example is licensed under a Creative Commons Attribution 3.0 United States License and is Copyright © 2003-2008 Andrew Kator & Jennifer Legaz (www.katorlegaz.com)
↑ Top ↑Outline Shader
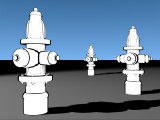
Combining the (yes, again) Spot Node with the Thickness node and a couple of Math → SmoothStep nodes to enhance contrast, this network renders the outlines of the object black while redering evertything else white. I renamed the nodes in the example to include the parameters set.
The Spot → Ray Length parameter is used to make the outlines wider when the object is further away from the camera (= longer ray) so all outlines appear to have the same width in the image.
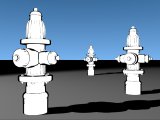
The second network does the same, with the addition to some noise to vary the width of the outline. In the fBm Noise node, the Use world coordinates is checked
↑ Top ↑