Two decades ago I created the animation Seeing Red. It was rendered in a Non-Photorealistic style (rendered using stylized depiction) with a custom Mental Ray shader in Softimage XSI. Both those pieces of software are now defunct. I described the process on an old page on this website.
I am considering using a similar technique for my next 3D animation. The Mental Ray shader was written in C++ and is not compatible with Blender, the 3D computer animation package I finally switched two about two years ago after using Autodesk Maya for about fifteen years.
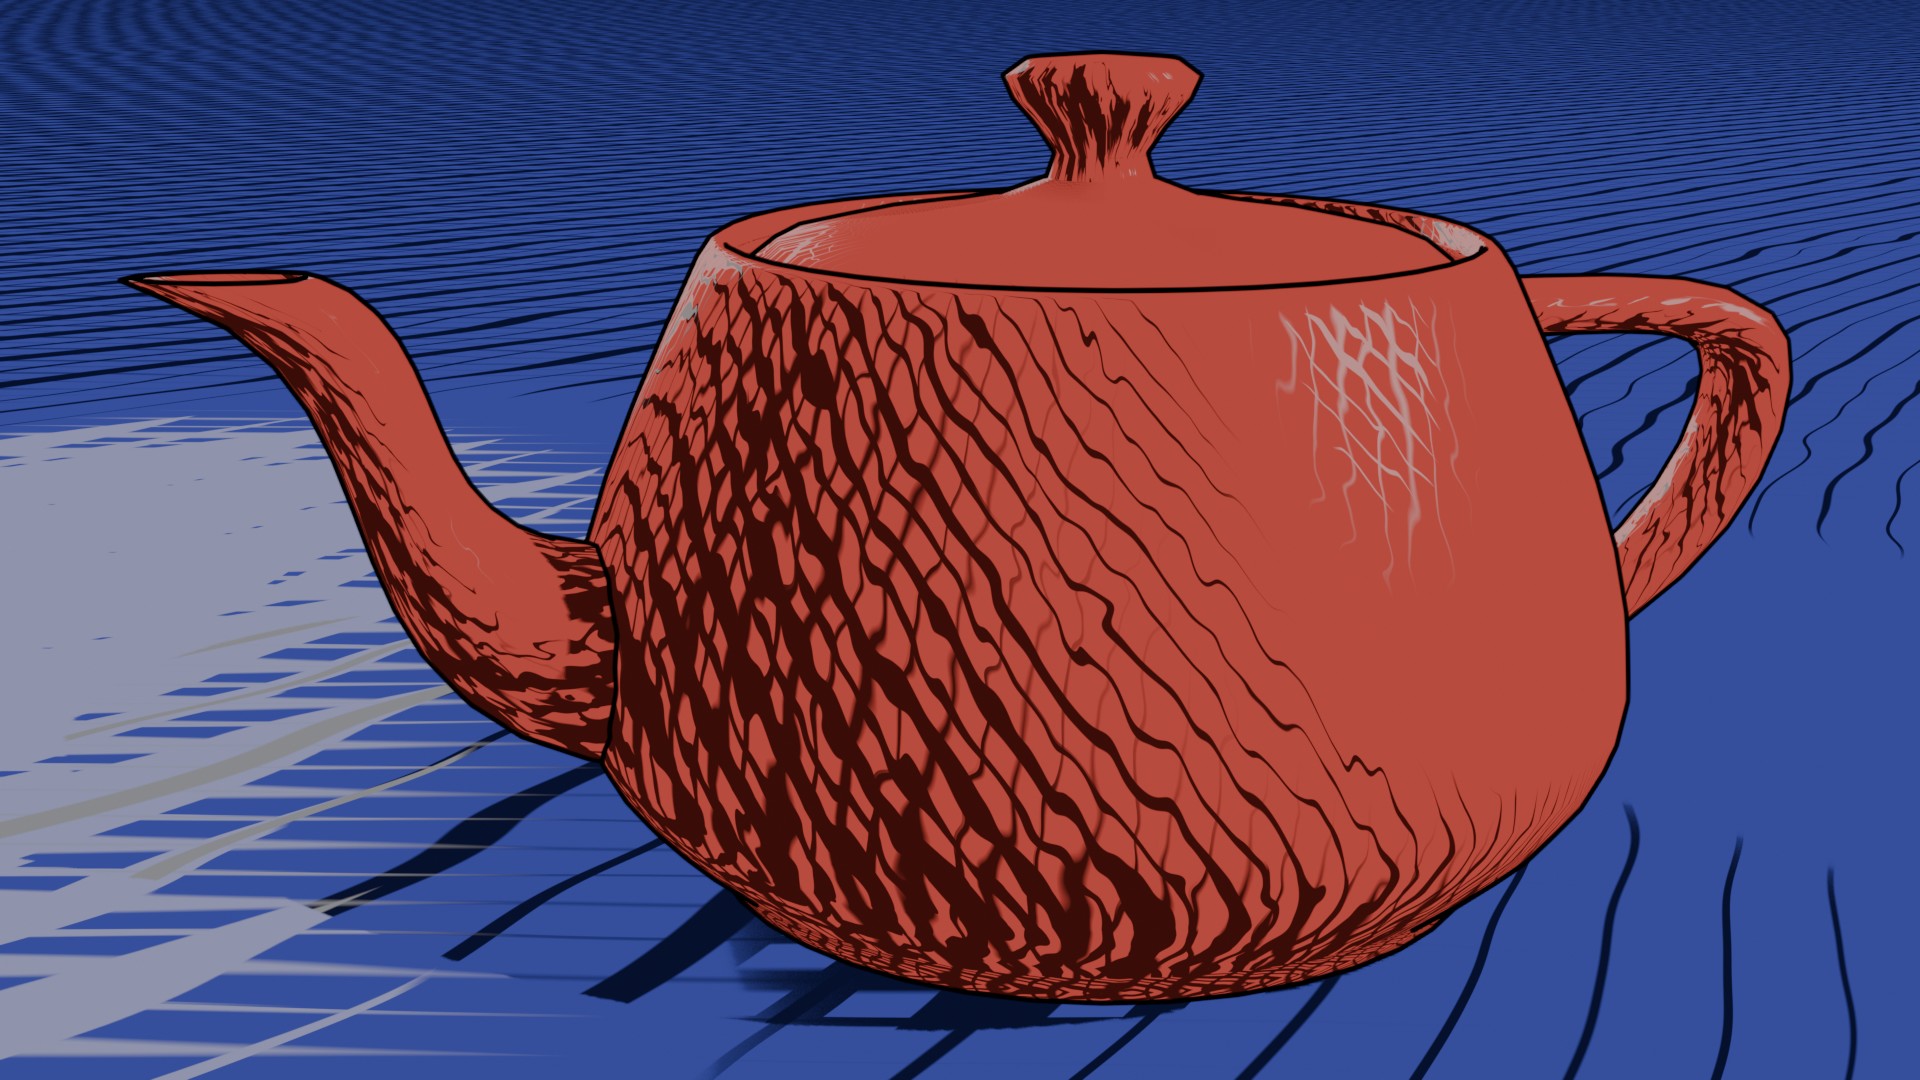
Blender has an excellent node based shader editor, and using only standard nodes, I was able to (re-)create a crosshatch shader.
Here is the Shader Network I used to create the render posted above:
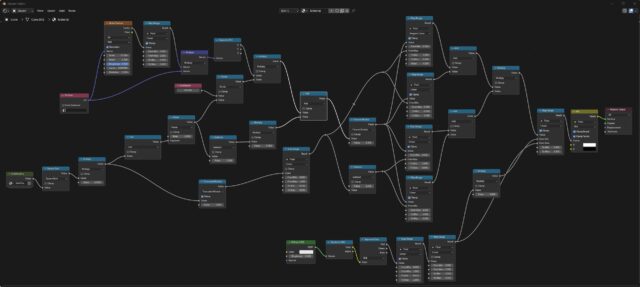
To the far left of this node network is a node containing this network to get the size of a pixel in world space:
The CameraVOV and Resolution are linked to camera and scene parameters (angle, and the maximum value of render.resolution_x and render.resolution_y)
The Shader does require proper UVs to work. It is hard to get those (relatively) seamless while retaining an even distribution. In an updated version of the shader, the line density is modulated by a hand painted vertex map. I tested this technique on The Teapot.
I am now working on getting this to look good on my doomscrolling walker guy. I am adding additional parameters, mainly via vertex maps, so I can use a single shader on all, or at least most, objects.
Oh, and I need to actually animate the scene I have in mind. Stay tuned!